

Updating the same button across 47 screens manually? That’s a problem components solve in seconds.
Learning how to make components in Figma transforms scattered design files into a scalable system where one edit updates every instance automatically.
Components are reusable UI elements that keep your designs consistent without the copy-paste chaos.
This guide walks you through selecting layers, using keyboard shortcuts, naming conventions with slash hierarchy, and organizing your assets panel for maximum efficiency.
You’ll also learn troubleshooting fixes for common issues like missing components and broken instance links.
Takes about 5 minutes to master. Saves hours on every project after.
How to Make Components in Figma

Making components in Figma is the process of converting design elements into reusable UI objects that update globally when edited.
Designers need this when building a design system, creating button libraries, or maintaining consistency across multiple screens.
This guide covers 6 steps requiring 2-5 minutes and basic Figma navigation skills.
Once you understand how to create components, you can use components in Figma across any project file.
Have you seen the latest Figma statistics?
Discover comprehensive Figma statistics including revenue growth, market share, user demographics, and funding data.
Check them out →Prerequisites
Before creating your first main component, verify these requirements:
- Figma account (Free, Professional, or Organization plan)
- Can edit access to the file (view-only won’t work)
- Design element ready to convert (button, icon, card, navigation bar)
- Basic familiarity with the layers panel and toolbar
- Time estimate: 2-5 minutes per component
Component creation works identically across Figma desktop app and browser versions.
No plugins required.
Step-by-Step Process
Step: How Do You Select Layers for Your Component?

Click the element on your canvas or locate it in the layers panel on the left sidebar, then ensure all child layers you want included are grouped or framed together before conversion.
Action
- Single element: Click directly on the canvas or click the layer name in layers panel
- Multiple elements: Hold Shift and click each layer, or drag a selection box
- Nested layers: Double-click to drill into groups, or use Command/Ctrl + click
Purpose
Your selection determines exactly what becomes the component.
Miss a layer and you’ll need to detach and recreate.
This matters when working with complex UI elements like buttons in Figma that contain multiple nested objects.
Step: How Do You Access the Create Component Option?
With layers selected, use keyboard shortcut Option+Command+K (Mac) or Ctrl+Alt+K (Windows) to instantly convert your selection into a main component with the purple diamond icon.
Action
- Keyboard shortcut: Option+Command+K (Mac) / Ctrl+Alt+K (Windows)
- Right-click menu: Right-click selection > Create component
- Toolbar: Click the dropdown arrow next to the frame icon > Create component
Purpose
Multiple access methods exist because speed matters in production workflows.
The keyboard shortcut saves roughly 3 seconds per component.
Over hundreds of components, that adds up.
Step: How Do You Identify a Main Component in Your File?
Main components display a purple diamond icon (four-pointed) in the layers panel, while instances show a purple outlined diamond, helping you distinguish editable sources from copies.
Action
- Layers panel: Look for the solid purple diamond icon next to the layer name
- Canvas: Main components have a solid purple border when selected
- Assets panel: Main components appear here automatically after creation
Purpose
Editing the wrong element wastes time.
Change a main component and every instance updates.
Change an instance and only that copy changes.
Knowing which is which prevents accidental overwrites, especially when you need to edit a component in Figma later.
Step: How Do You Name Your Component Using Proper Conventions?
Double-click the component name in the layers panel and use slash naming (button/primary/default) to create automatic folder hierarchy in the assets panel for organized component libraries.
Action
- Basic naming: Double-click layer name > Type descriptive name
- Slash hierarchy: Use format category/type/state (icon/social/facebook)
- Batch renaming: Select multiple components > Command/Ctrl + R
Purpose
Proper naming makes components findable.
The slash system creates nested folders automatically in the assets panel.
Your team library becomes searchable and organized without manual folder creation.
Step: How Do You Add a Description to Your Component?
Select your main component, open the component configuration in the right sidebar’s design panel, then add usage notes and search terms in the description field for team documentation.
Action
- Location: Right sidebar > Design tab > Component section
- Description field: Click “Add description” link
- Documentation link: Add external URL to design guidelines if needed
Purpose
Descriptions appear on hover in the assets panel.
They tell teammates when to use this component versus alternatives.
Add search keywords here that don’t fit in the name.
This becomes valuable when creating a design system in Figma with dozens of similar elements.
Step: How Do You Create Multiple Components at Once?
Select multiple frames, groups, or layers simultaneously, then choose Create multiple components from the toolbar dropdown to batch-convert an entire icon set or UI pattern library in one action.
Action
- Select all elements: Shift+click or drag selection box around targets
- Toolbar method: Click frame dropdown > Create multiple components
- Result: Each frame/group becomes its own separate main component
Purpose
Batch creation handles icon libraries with 50+ assets in seconds.
Individual conversion would take 10-15 minutes for the same set.
Works perfectly for illustrations, social icons, or any reusable design elements that share similar sizing.
Verification
Confirm your component creation worked correctly before moving forward.
How to Confirm Success
- Purple diamond icon appears next to the layer name in the layers panel
- Component shows in Assets panel (left sidebar, second tab)
- Dragging from Assets creates an instance with outlined diamond icon
Quick Test
Drag your new component from the Assets panel onto the canvas.
Edit the main component’s fill color.
The instance should update automatically, confirming the link works.
If it doesn’t update, you accidentally edited the instance instead of the main component.
Troubleshooting
Component Not Appearing in Assets Panel
Issue: You created a component but can’t find it in the Assets panel search.
Solution: Check if you’re on the correct page (Assets shows current page components first), verify the component wasn’t accidentally deleted, and confirm your file has edit access rather than view-only permissions.
Cannot Edit Component Layers
Issue: Clicking on component layers doesn’t allow changes.
Solution: You likely selected an instance (outlined diamond) instead of the main component (solid diamond); double-click to enter the instance, or right-click and select “Go to main component” to locate the editable source.
Changes Not Updating Across Instances
Issue: Edited the component but instances remain unchanged.
Solution: Verify you edited the main component, check if instances have overrides applied (reset overrides from the right sidebar), and ensure you’re not working in a different file that imported the component from a shared library.
Component Showing Wrong Layers
Issue: Component includes unwanted elements or missing layers.
Solution: Use remove a component in Figma to detach it, fix your layer selection, then recreate the component with correct layers grouped together.
Related Processes
Components become more powerful when combined with other Figma features.
Next Steps After Creating Components
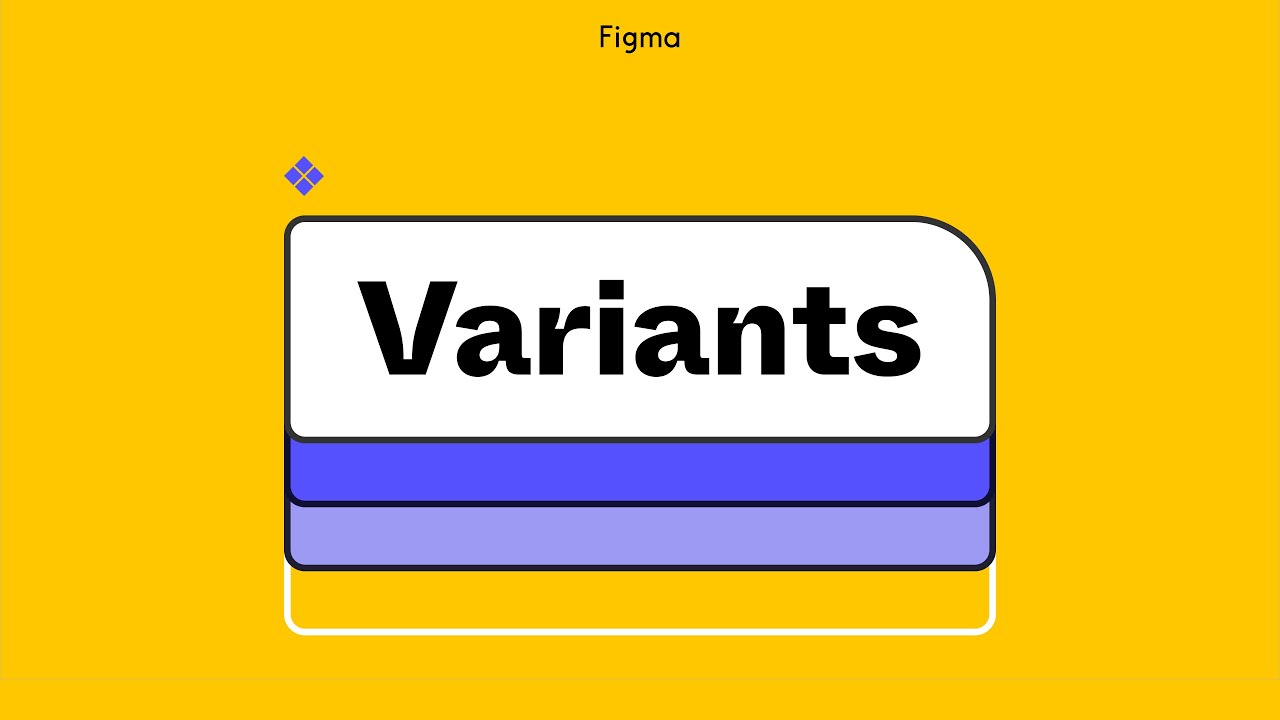
- Add variants: Create variants in Figma for hover, active, and disabled states within one component set
- Enable auto layout: Learn auto layout in Figma for responsive component behavior
- Build interactive prototypes: Connect components with prototype interactions in Figma
- Publish to team library: Share components across files for organization-wide design consistency
Related Figma Skills
- Make a frame in Figma before component conversion
- Ungroup in Figma to restructure layers
- Scale in Figma for resizing component instances
- Make a grid in Figma for consistent component spacing
Mastering components transforms scattered design files into a scalable component library that speeds up every future project.
Your team stops recreating the same buttons.
Updates propagate instantly.
Design consistency becomes automatic rather than manual.
FAQ on How To Make Components In Figma
What Is the Keyboard Shortcut to Create a Component in Figma?
Press Option+Command+K on Mac or Ctrl+Alt+K on Windows with your layers selected. This instantly converts your selection into a main component with the purple diamond icon in the layers panel.
What Is the Difference Between a Main Component and an Instance?
A main component is the source element you edit to update all copies. An instance is a linked copy that receives those updates. Main components show a solid purple diamond; instances display an outlined diamond.
Can I Create Multiple Components at Once in Figma?
Yes. Select multiple frames or groups, then choose “Create multiple components” from the toolbar dropdown. Figma converts each selected element into its own separate main component simultaneously.
How Do I Name Components for Better Organization?
Use slash naming like button/primary/default to create automatic folder hierarchy in the assets panel. This groups related components together and makes your team library searchable without manual folder creation.
Why Is My Component Not Showing in the Assets Panel?
Check you’re viewing the correct page, as Assets prioritizes current page components. Verify the component wasn’t deleted and confirm you have can edit access rather than view-only permissions to the file.
How Do I Edit a Component Without Affecting Instances?
You can’t edit the main component without affecting instances. Instead, select the specific instance and apply overrides (color, text, visibility changes) that only affect that copy while keeping others unchanged.
Can I Turn an Existing Instance Back Into a Main Component?
Right-click the instance and select “Detach instance” to break the link. This converts it to regular layers. Then select those layers and create a new component using the keyboard shortcut or toolbar.
How Do I Share Components With My Team?
Publish your file as a shared library through the Assets panel menu. Team members can then enable this library in their files and access all components through their own Assets panel.
What Happens If I Delete a Main Component?
Existing instances remain in your files but lose their link to the source. You can restore a deleted component by right-clicking any remaining instance and selecting “Restore main component” from the menu.
How Do I Add Different States Like Hover to My Component?
Use variants to combine multiple states into one component set. Select similar components, click “Combine as variants” in the right sidebar, then define properties like state with values such as default, hover, and pressed.
Conclusion
You now know how to make components in Figma, from selecting layers to batch creation and proper naming conventions.
The component architecture you build today determines how fast your team ships tomorrow.
Start with simple elements like icons and buttons. Get comfortable with the purple diamond icon and instance behavior.
Then expand into nested components and variant properties for complex UI patterns.
Your assets panel becomes a living library. Every new project pulls from existing work instead of starting fresh.
Design consistency stops being a goal you chase. It becomes automatic.
The initial setup takes minutes. The time saved compounds across every screen, every file, every team member who touches your shared library.
Build components once. Reuse forever.


